 printing 3D custom mouthpieces
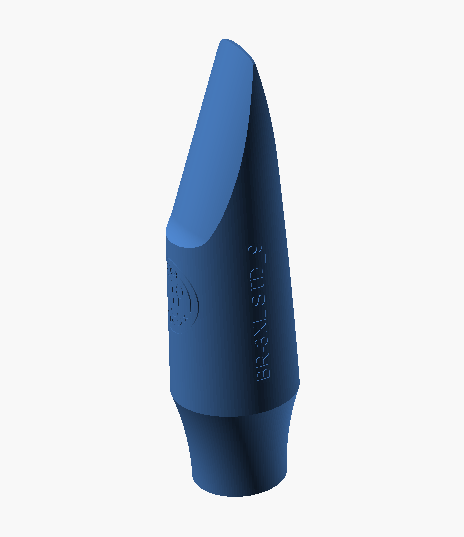
This article describes how to print and finish an woodwind mouthpiece.
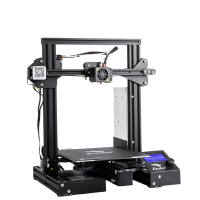
The right 3D printer
The printers I use are a creality Ender 3 pro and a FlashForce Creality 2 Pro.
Both with a standard nozzle of 0.4mm.
They are able to print with 0.1 mm layer height.
I suppose every 3D printer with equivalent specification will do the job.
Selecting a safe filament
There are a lot of choices and colours available. Good results can be achieved with PLA. It is suitable to print prototypes. PLA is not absotely food safe and it is not advised to play very long on these prototypes. PETG which is food safe is a better alternative.
Configuring the 3D print
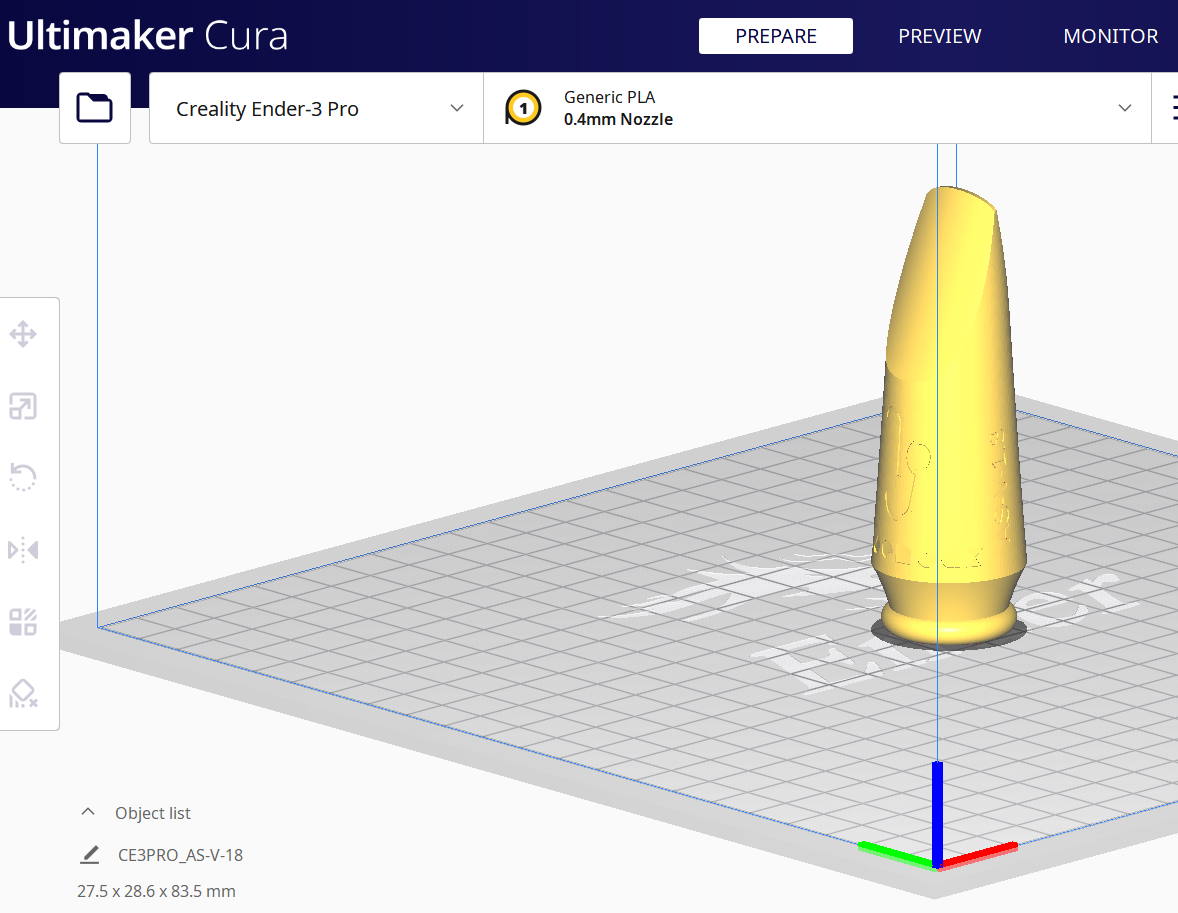
I use the application CURA to generate the Gcodes for my printer.
The following configurations are important:
-
- layer height:0.1 to 0.15 mm
- initial layer height: 0.2 to 0.3 mm
- wall thicknes: 1.2 mm
- infill: 100% (for prototypes lower values can be used)
- print speed: 35mm/s for PETG and infill speed 70mm/s (for PLA it can be higher)
- printing temperature: 240
- initial printing temperature: 240
- build plate temperature: 80
- generate support: yes
- support structure: Tree
- support placement: touching buildplate
Printing will take 4 to 9 houres depending on the settings and the type of mouthpiece.
Finishing the 3D print
With the printers I use the mouthpiece is not print and play. So I finish them as follows:
- sand them using sandpaper 600 and 1000
- polish them using polish for plastic car parts.
 Op 15 juni is het weer jaarmarkt in Heukelum (zie
 _0x200.jpg)
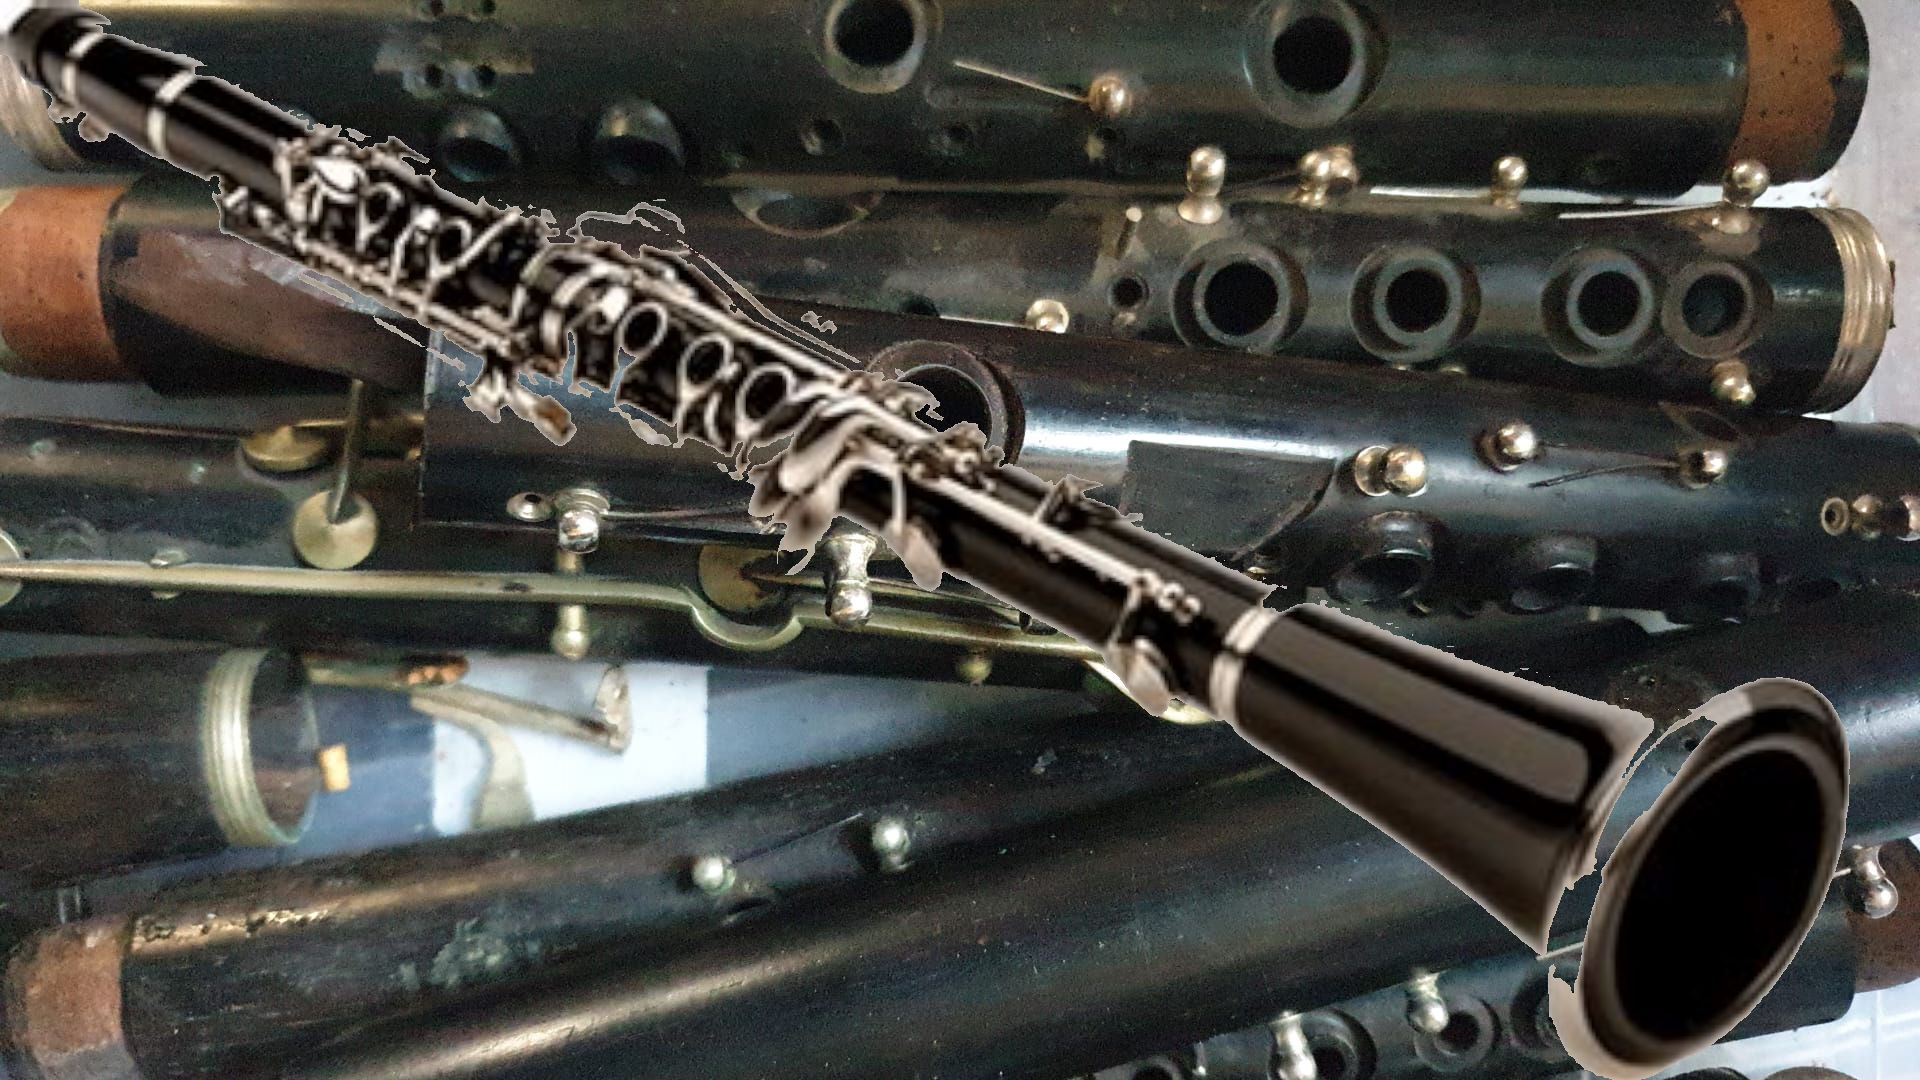 Vanwege de regekmatige vraag naar bes klarinetten gaan we ook gereviseerde klarinetten aanbieden.
-1666348987.jpg) We hebben niet alleen studiesaxofoons voor de verhuur.
We hebben niet alleen studiesaxofoons voor de verhuur.